Assigning tips
Assigning a tip puts one operator’s name on it as the owner. You can assign a single tip from its detail view, or assign a batch of tips at once from the queue.
Assign one tip
Section titled “Assign one tip”- Open the tip.
- In the assignment panel, select Assign, or Reassign if someone already owns it.
- Search the operator list, or scroll it. Each operator’s current open caseload shows next to their name, so you can see who has room.
- Select an operator.
- Check the summary line, then confirm.
The operator list only shows active accounts on your program. If you’re reassigning, the current owner is marked and grayed out unless you pick them again.
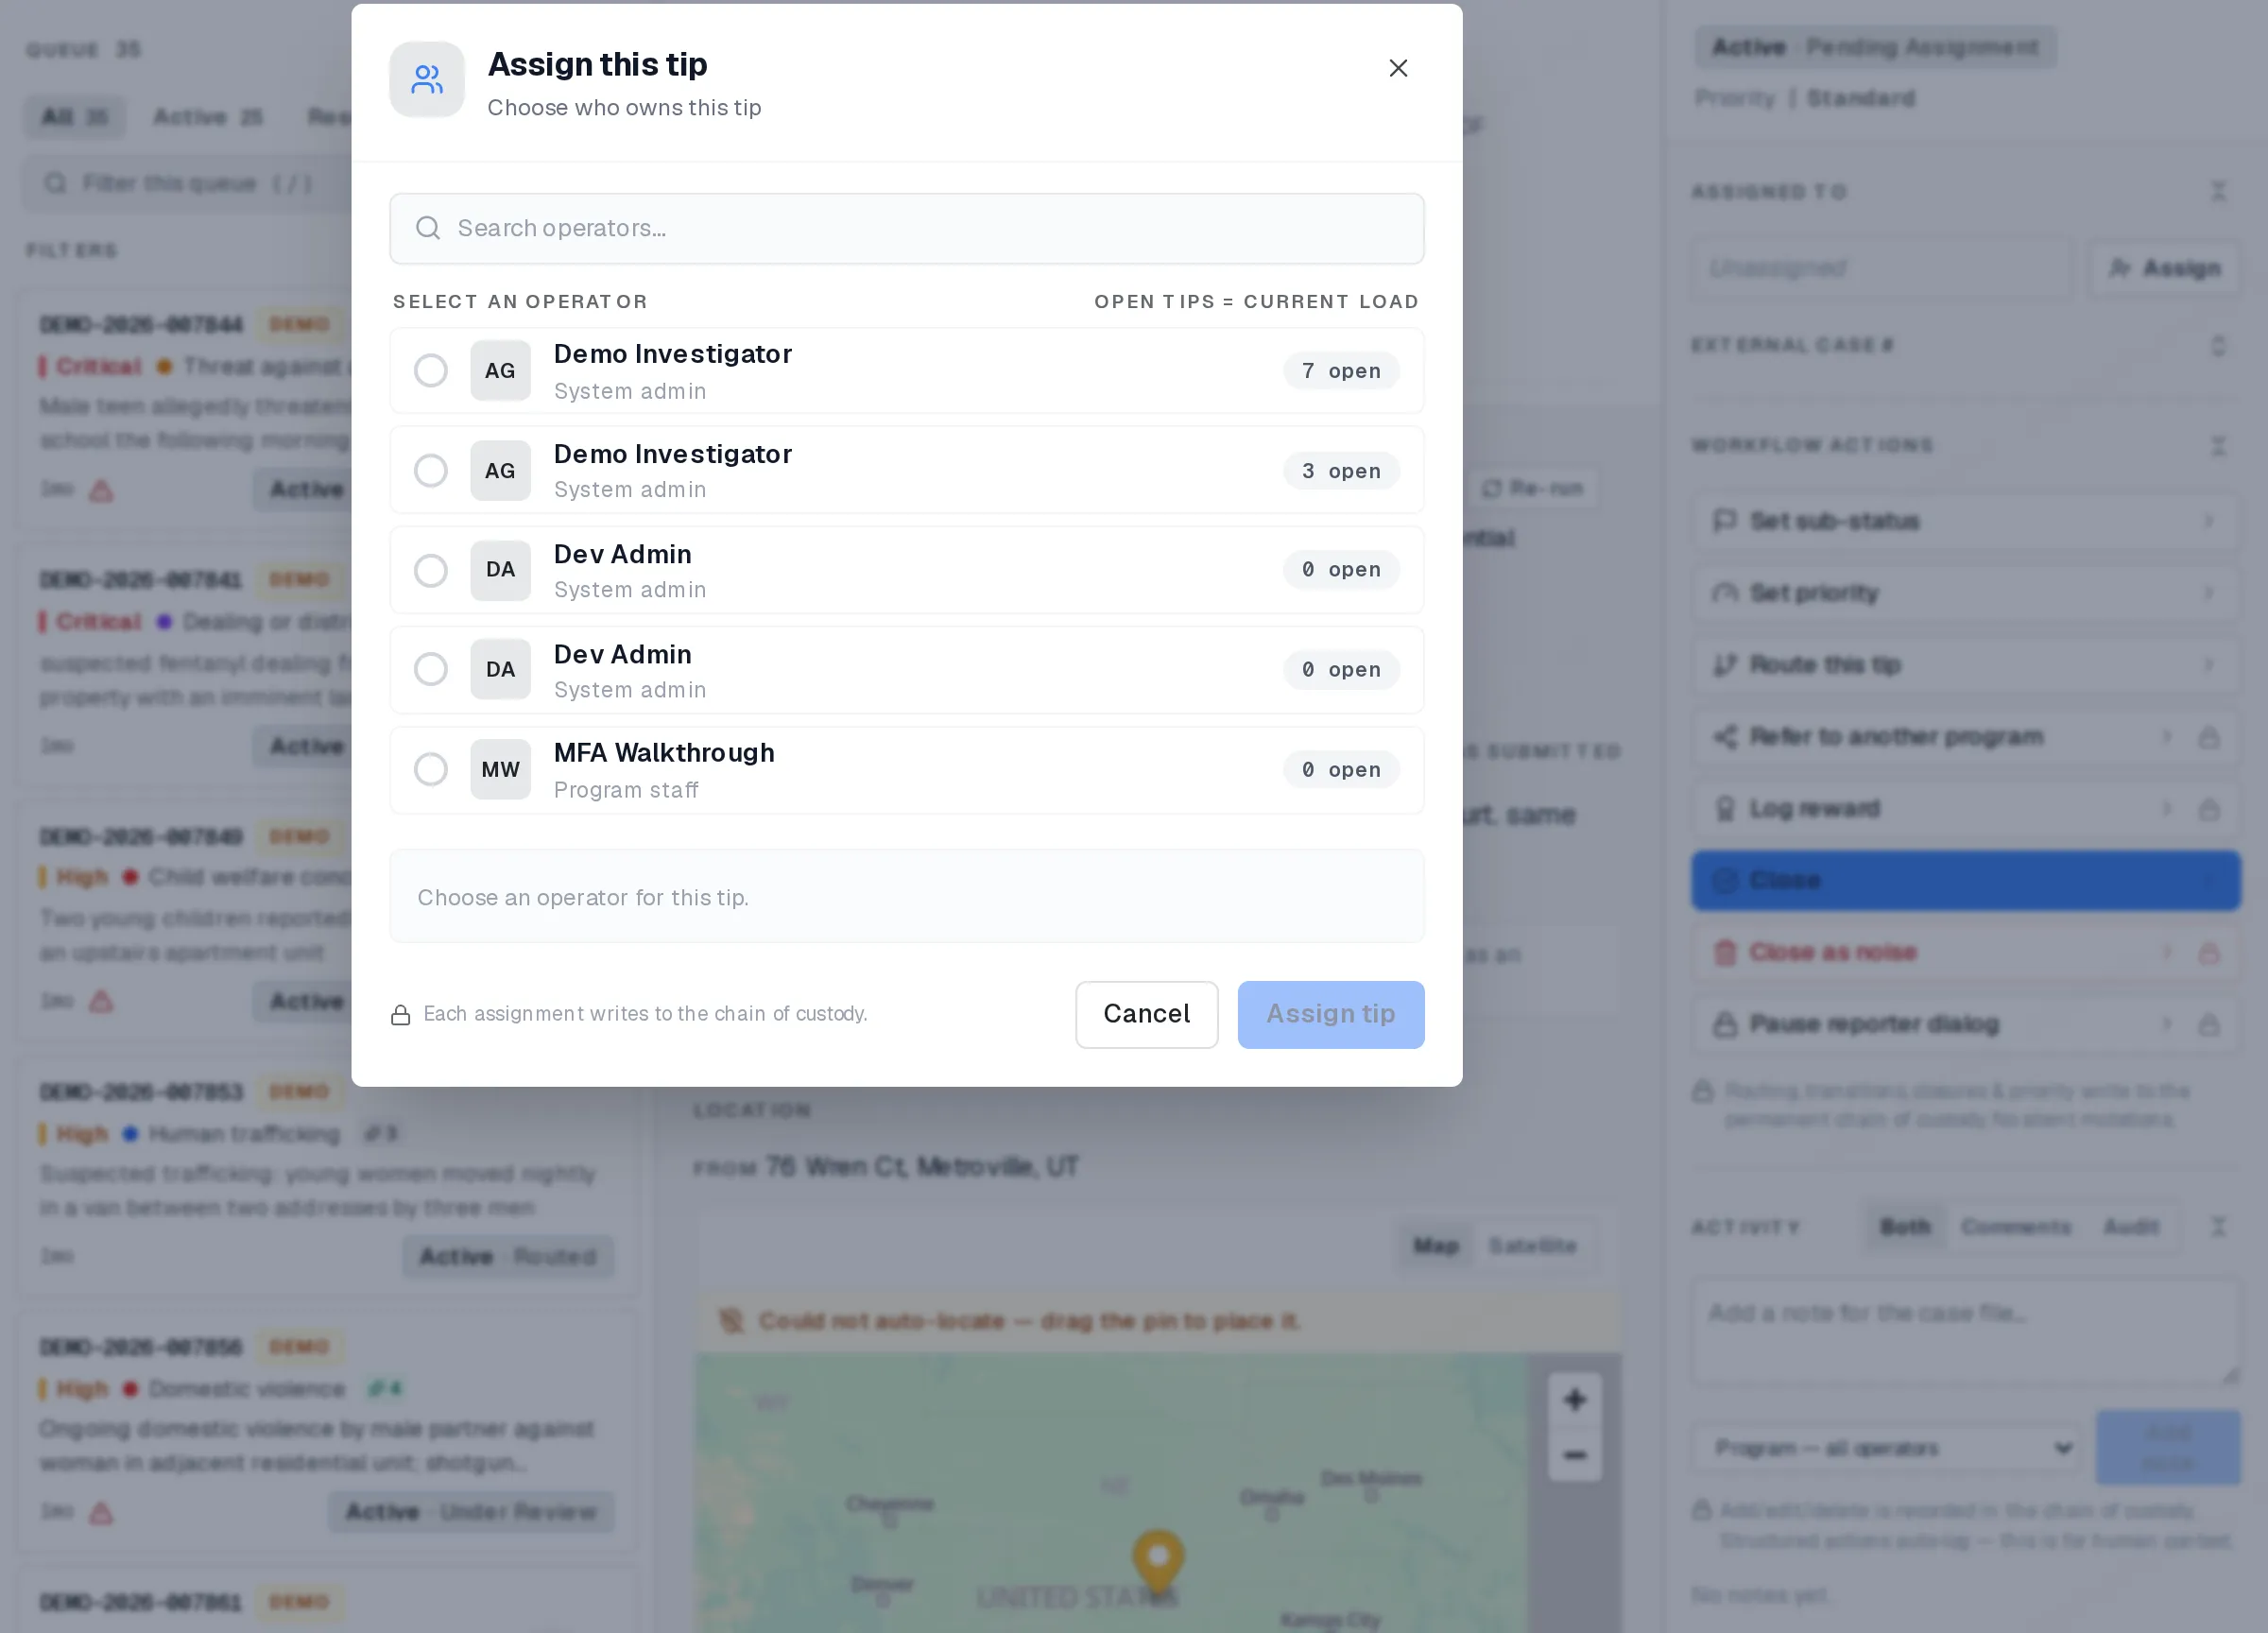
Assigning one tip from its Assigned to section.
Assign a batch of tips
Section titled “Assign a batch of tips”- In the queue, select the tips you want to hand off.
- Select Assign in the bar that appears above the list.
- Choose how to split the work:
- Assign all to one puts every selected tip on a single operator.
- Distribute round-robin splits them across two or more operators you pick, weighted toward whoever has the lightest caseload.
- Review the split before you confirm. It shows exactly how many tips each operator is about to receive.
- Confirm.
Who can assign, and to whom
Section titled “Who can assign, and to whom”Assigning a tip needs the same access to it as everything else you do with that tip, plus your role’s permission to reassign. Your program admin sets that permission up.
You can only assign to another active operator account on your program, not an outside address or an agency contact.
What this leaves behind
Section titled “What this leaves behind”Every assignment and reassignment writes a row to the tip’s audit trail: who it went to, who made the change, and when. That row can’t be edited or removed afterward, the same as any other entry on the trail.
A separate field next to assignment holds your own agency’s case number, if you use one. It’s saved on its own and isn’t part of the assignment.
Related
Section titled “Related”The same guarantee, in plain terms, is on the operator accountability page.